Metadata Modifications Shortcuts
When creating the metadata for your collection, the information can be borrowed from an existing Access database that may have been used for the MBMG website. Copying and pasting from the Access database to the Excel is a quick way of transferring the data to the proper file; however, there may be capitalization problems such as being in all-caps or all lower-caps. No sweat, just transfer the data and there are shortcuts to changing it all using Microsoft Excel tools.
- First, locate your metadata sheet.
If you haven't already filled out this sheet, please refer to the metadata instructions. Make sure to follow instructions for SA users and ignore instructions for GH and Skin.
- Excel has a neat tool called 'flash fill'. It detects patterns in your spreadsheet and will attempt to auto fill the rest of the column using data in other columns. When dealing with the county files, it may be easiest to manually fill out the claim name column. The other columns should flash fill when beginning to type cell contents. If you start to type and see the flash fill appear, press
Enterinstead. You should be able to complete most other columns using flash fill such as the object id, filename, title, subject, and any other column that follows a pattern. - If you do copy and paste information from the Access database that is in all-caps, there is a shortcut for this as well. In any empty column a few columns off to the side, paste the copied information.
- In a column just to the right of the pasted information, you will be using a formula. In the first row, type
=PROPER. A suggestion fill should pop up to the side and double-click the correct option. You will then select the cell directly left of the column you just entered the formula in, and then hitEnter.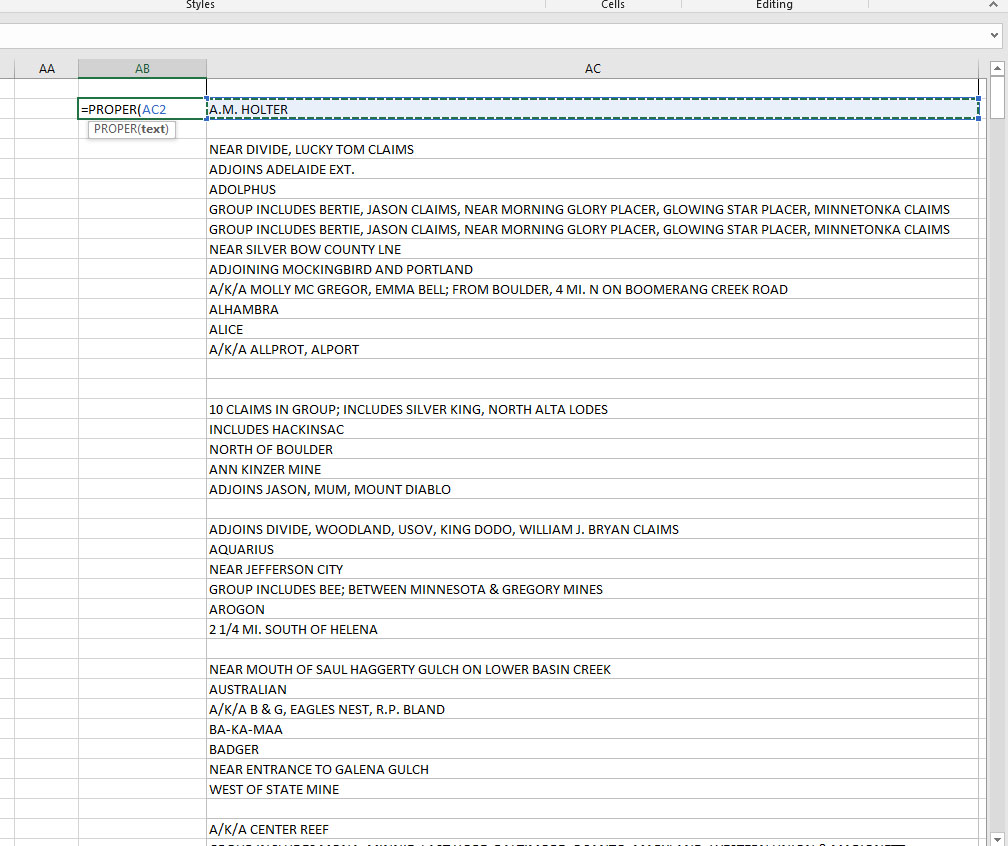
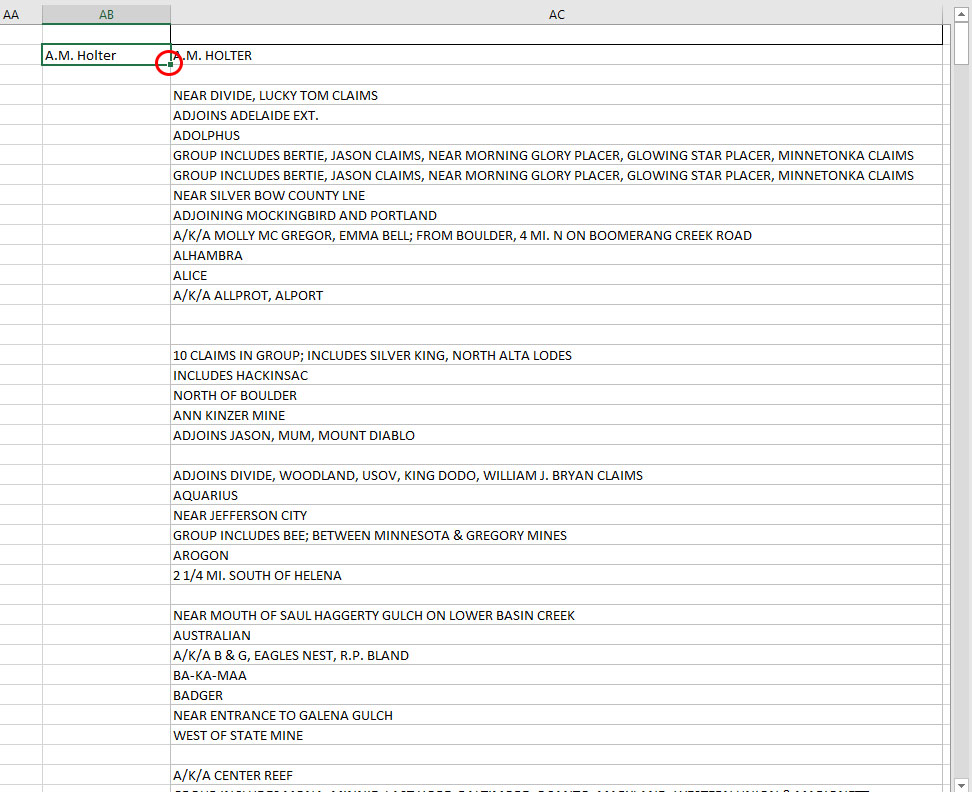
- Then you will select the newly-created cell with proper capitalized text. You should see a small square in the lower-left corner of the cell. Double-click that small square. This will auto-fill the remainder of the cells with the formula you entered.
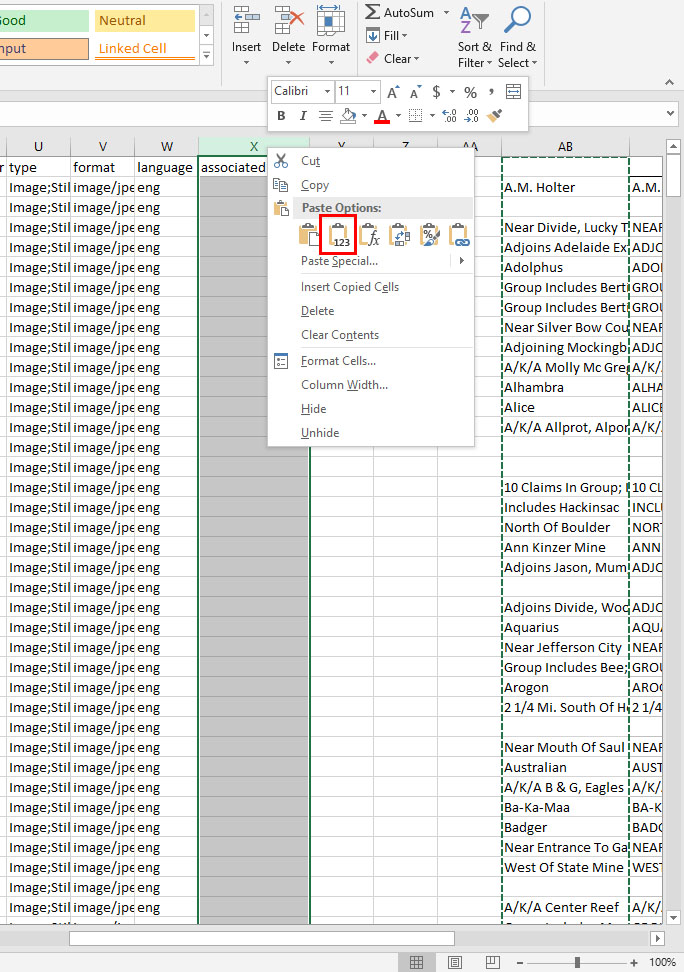
- Now you will want to take the proper text and cut and paste it into its correct column, but once you do, the formula will no longer work. So, select the corrected text column and cut it. Then in the place you want the corrected text, right-click and select the paste option of text-only.
- Now you're free to delete the text you no longer need.